119 files
-
- 2,719 Downloads
- 35217 Views
- 221.34 kB File Size
- 1 Comments
Updated -
- 3,345 Downloads
- 47663 Views
- 1.24 MB File Size
- 2 Comments
Updated -
- 2,849 Downloads
- 37387 Views
- 10.13 kB File Size
- 6 Comments
Updated -
-

-

- 702 Downloads
- 15830 Views
- 242.54 kB File Size
Updated -
- 6,597 Downloads
- 52744 Views
- 3.88 MB File Size
- 11 Comments
Updated -
-
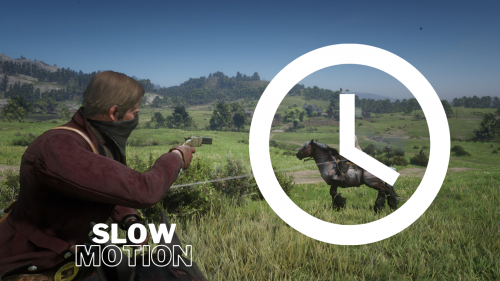
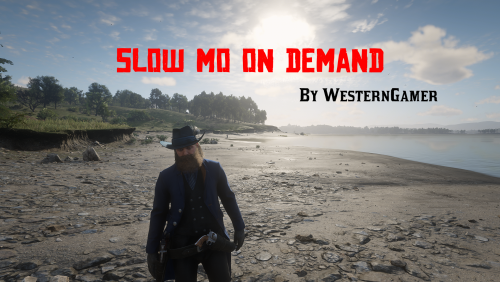 A lightweight mod that slows the game down with a press of a button.
- 4,506 Downloads
- 43464 Views
- 316.74 kB File Size
- 11 Comments
Updated -

-
-

-
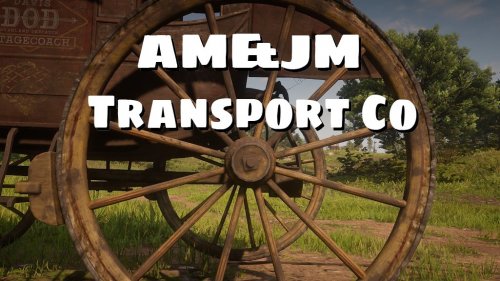 Buy your own wagon or stage and transport people / goods, and fight bandits to make an honest living
 -
-
.thumb.png.8d51a5837c88994e569781ba9d90e74d.png) A mod to replace the normal lantern with the lantern that Arthur uses in the first mission.
A mod to replace the normal lantern with the lantern that Arthur uses in the first mission.- 1,397 Downloads
- 17306 Views
- 183 kB File Size
- 1 Comments
Updated -
- 2,336 Downloads
- 26693 Views
- 90 kB File Size
- 1 Comments
Updated