
400 files
-
-
- 3,703 Downloads
- 63272 Views
- 3.94 kB File Size
- 2 Comments
Alex Ashfold in MiscUpdated -

- 5,485 Downloads
- 44833 Views
- 384.03 kB File Size
- 1 Comments
cade082008 in MiscUpdated -
- 14,385 Downloads
- 100132 Views
- 18.31 kB File Size
- 18 Comments
Updated -
-
-
- 8,995 Downloads
- 134465 Views
- 676.49 kB File Size
- 64 Comments
Updated -

-
-
- 1,897 Downloads
- 45688 Views
- 11.17 kB File Size
- 16 Comments
Updated -
-
-
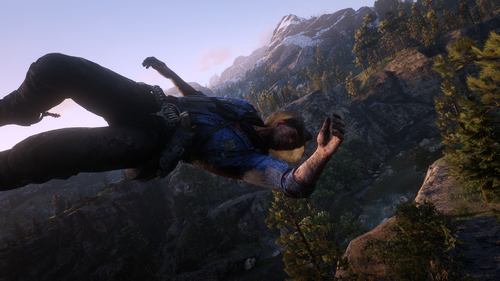 Slow Motion & Ragdoll For Red Dead Redemption 2
- 1,295 Downloads
- 24007 Views
- 7.24 kB File Size
- 1 Comments
Updated -
-
-


.thumb.jpg.5b8458d020408e6928c97df7c880f0d7.jpg)