114 files
-
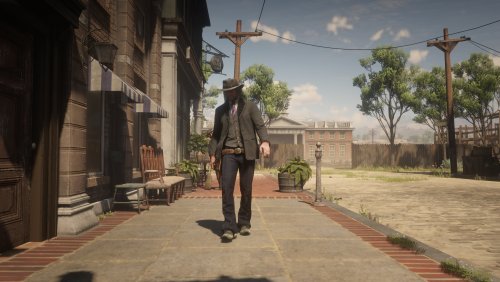
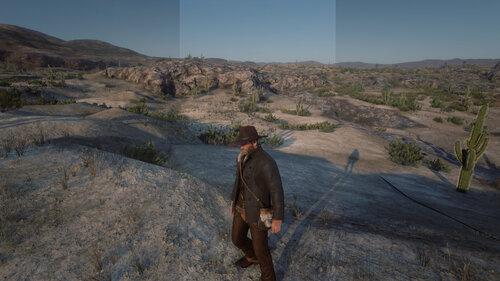
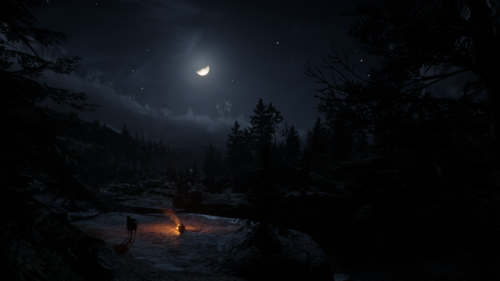
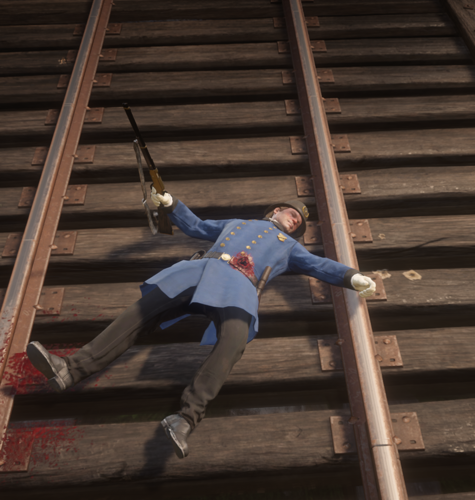
This mod makes the nights darker and more realistic. It also gets rid of the vignette effect.
There are 3 files.
Darker = Very dark (Like the screenshots)
Light = Slightly brighter
Lighter = Even more bright but still much darker than vanilla
Install:
Extract and place the 'dark_nights' folder into 'lml' folder.
Lenny's Mod Loader is required!
-
If you liked my other mod "all shots cause bleedouts", then you'll like this too.
From The makers of "All Shots Cause Bleedouts"
This mod gives combat way more realism. There are 3 options to choose from, including :
lower bullet force
lower bullet force + peds dont get up instantly after being shot
%100 bleedout chance (every shot will cause a bleedout)
Gut shots (inflicts huge pain realistically, so when you shoot a ped in the gut, they will hold their guts for a second and collapse.)
Requires LML.
again, huge thanks to morrigan.
and, no, npcs dont bleedout from their arms or legs, and headshots are still an insta kill.
WARNING : ONLY CHOOSE EITHER THE FILE NAMED "lower_bullet_force_and_reaction_delay" OR "lower_bullet_force" YOU CAN NOT INSTALL BOTH AS THEY USE THE SAME FILE.
THE DIFFERENCE BETWEEN THEM IS THAT lower_bullet_force_and_reaction_delay CAUSES PEDS TO NOT GET UP INSTANTLY AFTER BEING SHOT.
- 39,144 Downloads
- 193071 Views
- 220.1 kB File Size
- 8 Comments
Professor2 in MiscUpdated -
Drag the lml folder into your game directory. causes %100 bleedouts when an npc is shot.
- 15,701 Downloads
- 74427 Views
- 17.54 kB File Size
- 1 Comments
Professor2 in MiscUpdated -
WARINING: THIS MOD IS MADE WITH THE LIMITATIONS OF THE PHYSICSTASKS MADE WITH OVER 10K UNKNOWN LINES DONT EXPECT ANYTHING MAJOR (No videos for now)
This mod makes deaths more dramatic with alot more force and balancing and headshots and shotgun deaths are more satisfying
It might not be alot noticeable as the physics tasks file got over 10k unknown lines
-
Fixes the extremely forceful and fake looking direction forces when falling from great heights, to now be a lot more dynamic with more rotation in free falls.
- 303 Downloads
- 6309 Views
- 188.71 kB File Size
Updated -
YOU NEED LML FOR THIS MOD TO WORK
Brief Overview:
This mod fixes the annoying glitch where camp members tell you your cold even though your not
Install:
drag the 'update' folder into LML > Replace
Thanks so much to Modifiver for helping me with this!
-
This file contains basic examples for Lenny's Mod Loader based on the previous examples for the replace and stream folder. It is also part of our YouTube tutorial on how to use Lenny's Mod Loader which you can find below.
1.) Replaces your duster coat to cover the holster (thanks to Jewels for posting that file).
2.) Dispatch.meta replaces normal police backup in Valentine with Saint Denis police. Cause some trouble and you will hear their whistles soon enough. Pedhealth.meta massively upgrades your stamina bar regeneration.
3.) Replaces the default RDR2 font with a custom one (thanks to jack.sharif for posting that file).
4.) Replaces weather and thunder sounds with empty awcs.
5.) Replaces your machete with knuckle brass from the game (which is not very useful and might glitch things out) using a mix of name and hash to show how both are to be used.
Installation
Copy all files into your lml folder and they will be loaded automatically. Alternatively, open the Mod Manager and select "Download with Mod Manager" on the right.
Documentation
The install.xml is fully commented to showcase the various ways you can use to load files.
Installation Video (examples are covered from 04:07)
-
Simple file with all 1423 peds available at the database. Made with Microsoft Excel.
This file also contains teleport options and some other stuff provided by the user Aaskereija:
In his file, there were some missing models so I decided to grab all of them from the database and placed them in his file.
You can play as any model, spawn or summon as a bodyguard.
To install simply drop the file in your RDR2 root folder.
-
Added all important collectibles -minus
and cigarette cards- in this file.
Please note the following:
The menu now opens with F3 instead of F5 Locations between { } are dangerous, you will teleport to a location where enemies might attack you or you might be trespassing. Locations between ( ) are located South of the river West Elizabeth and New Austin. You get the idea. Collecting some of the valuables before Ch 6 with the intention of selling them in Ch 7/8 won't always work; some valuables will be lost when The valuables I lost were: ALL gold bars and nuggets, Female fertility statue #02 which
and the Viking comb. All the rest will still be in your satchel. I would recommend leaving the Landmarks of Riches treasure to collect after Ch 6;
This may be the most important note: Don't try to collect all of the orchids prematurely. The game is programmed in such a way as to not make all of the orchids needed spawn before they are requested of you. You're only allowed to collect one less of each orchid requested BEFORE starting the respective Algernon quest. -i.e. 6 cigar orchids instead of 7, 4 ghost orchids instead of 5 BEFORE Algernon gives you the respective bill of requests-. So only collect one less of each if you intend on starting early and remember, they spawn randomly. You are, however, allowed to collect Gator eggs and ALL plumes prematurely if you wish.
Have fun exploring!!
-
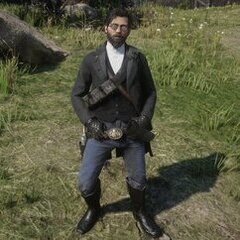
Adds John's Elegant Suit to your saved outfits. Does not require you to replace your save game.
This is the closest I could get to the original look using SP clothing only.
To install: - Download Save Editor ( https://x3t-infinity.com/RDR_SE )
- Open your save
- Go to Character -> Custom Outfits -> Saved Custom Outfit One from the drop down menu
- Click the gear next to the drop down menu -> Replace Outfit -> Select the file -> Save your changes -> Done.
You should be able to replace any custom outfit with it but you may have to change the name of the file, I haven't tried it myself.
-
This mod adds 4 Preset outfits to your outfit changer. (Which is big time required)
Nothing fancy here just some presets that I've manually setup, so you don't have to.
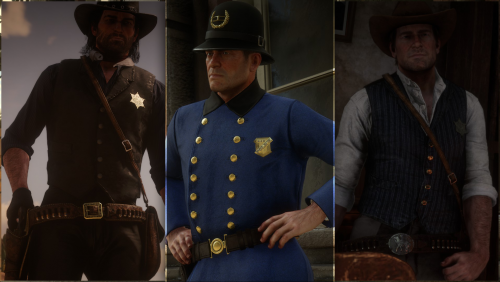
the mod includes the Saint-Denis officer uniform for both john and Arthur, but also two preset for Deputy Sheriff. John Marston outfit is inspired from the beta U.S Marshal Outfit from Red Dead Redemption I and Arthur Morgan is just from my own tast, feel free to use those as a base for your own outfits.
Installation:
Download the file and replace your outfitchanger.ini with the one included Or Copy paste those lines in your outfitchanger.ini [Outfit5] Name=Deputy Callahan IsMp=False IsFemale=False Components=0xDE42DD9E:0x44E21C90, 0xE8B0946D:0x44E21C90, 0xAAA8BD9D:0xEC35CD5A, 0x89EE6BFA:0x44E21C90, 0x5536513B:0x31582ACA, 0xA8CAFE6:0x44E21C90, 0x987C359D:0x44E21C90, 0x8071A64D:0x44E21C90, 0x16C30C8A:0x44E21C90, 0x9D5EFFF9:0x1E1C1B2C, 0x795FF3A1:0x83E8716F, 0x6B174584:0x44E21C90, 0xCF748206:0xC003685E, 0x1781880D:0x44E21C90, 0xAAAA4DCC:0x44E21C90, 0x23D0ECD0:0x44E21C90, 0x7AF05834:0xB8719F3E, 0x710E8D72:0x44E21C90 [Outfit6] Name=Deputy Milton IsMp=False IsFemale=False Components=0x23D0ECD0:0x44E21C90, 0x7AF05834:0xB8719F3E, 0x48FF3E48:0x44E21C90, 0x6B3703AB:0x44E21C90, 0x9C6EC971:0x44E21C90, 0x67FFB7FF:0x44E21C90, 0x3E995419:0x44E21C90, 0xFFBC3D1C:0x44E21C90, 0xD27A6462:0x44E21C90, 0x7C76451B:0x44E21C90, 0x506791A8:0x44E21C90, 0x850EEE39:0xEC35CD5A, 0xD166D2F9:0x31582ACA, 0x144BC64A:0xEF580C34, 0x4CD4102D:0x44E21C90, 0xB920F6EF:0x8999FB88, 0x16C30C8A:0x44E21C90, 0x92304BC9:0x44E21C90, 0x4FB035E3:0xA68AF260, 0xCE2B7AE:0xA68AF260, 0x4F585B0F:0xA68AF260, 0xA8CAFE6:0x44E21C90, 0x194C1920:0x44E21C90 [Outfit7] Name=Officer Morgan IsMp=False IsFemale=False Components=0xE3093CF5:0x44E21C90, 0x3296ADD6:0x44E21C90, 0x2BF95796:0x44E21C90, 0x15B5D51:0x44E21C90, 0xF81C1579:0x44E21C90, 0x14E18306:0x44E21C90, 0x9B3E539B:0x44E21C90, 0x8071A64D:0x44E21C90, 0x7591C78C:0x44E21C90, 0x59465335:0xFF8B2631, 0x101D9130:0x35205D41, 0xDB4C451D:0x44E21C90, 0x10DC5877:0xB23DCCD3 [Outfit8] Name=Officer Marston IsMp=False IsFemale=False Components=0xE3093CF5:0x44E21C90, 0x2BF95796:0x44E21C90, 0xF81C1579:0x44E21C90, 0x9B3E539B:0x44E21C90, 0x7591C78C:0x44E21C90, 0x101D9130:0x35205D41, 0xDB4C451D:0x44E21C90, 0x67FFB7FF:0xFF8B2631, 0x16C30C8A:0x44E21C90, 0x92304BC9:0x44E21C90, 0xA846C709:0xB23DCCD3, 0x3296ADD6:0x44E21C90, 0x15B5D51:0x44E21C90
- 3,529 Downloads
- 55986 Views
- 3.94 kB File Size
- 2 Comments
Alex Ashfold in MiscUpdated -
In this file there is a good save game from chapter 2 with very good Honour
NOTE: As mentioned this IS NOT a save game from the start of Chapter 2.
Read the 'Read Me' File in the download for installation.
- 5,124 Downloads
- 40686 Views
- 384.03 kB File Size
- 1 Comments
cade082008 in MiscUpdated -
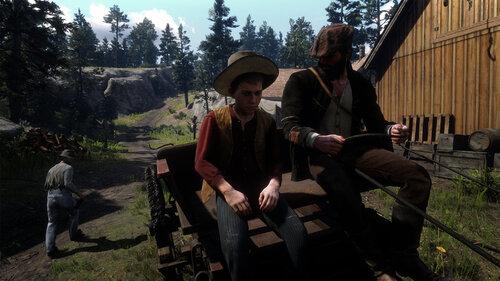
Cinematic Grading
Color grading, correction and enhancing.
Featured:
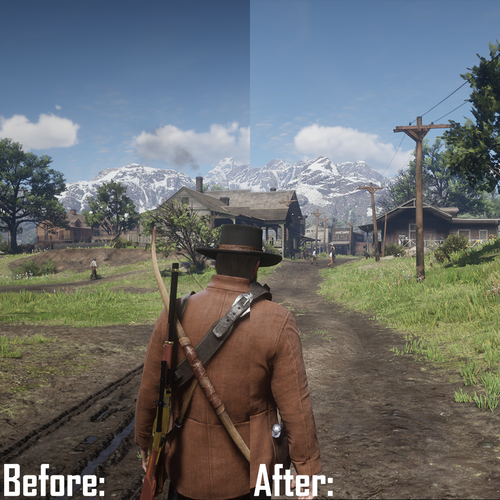
Removed excessive Vignette. Color temperature adjusted, reduced blue tint. Chroma boost, Luma as original.
Install Reshade (Vulkan)
Copy mauman.ini to main folder
~\Rockstar Games\Red Dead Redemption 2
Replace lut.png
~\Rockstar Games\Red Dead Redemption 2\reshade-shaders\Textures
-
An .INI file for Lenny's Simple Trainer, Adds all of the actions, Guns and more Models.
Installation: Go into the Rockstar launcher, Goto settings then click on "Red Dead Redemption 2" Then click on the "OPEN" button next to "View Installation Folder" Once the folder opens drag and drop the file(s) into the folder and either start the game or click "Reload Settings" inside of the menu 🙂
DON'T REPOST ANYWHERE
-
It’s here! A way to do something about the vignetting in Red Dead Redemption 2 (RDR2)!
I did found the vignetting in RDR2 really distracting , so I tried to eliminate it. That is sadly not (yet) completely possible. So I did make a ReShade preset that at least reduces the amount of vignetting.
The first version was just 1 setting, this new version however has an extra night setting to reduce the vignetting even more.
There is however 1 drawback: since this mod brightens the edges of the screen (in fact a negative vignette), surroundings of the sun and moon are getting somewhat brighter too. I tried to minimize it, getting a balance between the brightness and reducing the vignetting.
It is no “easy” fix though, some steps are required. At first I did put the description here on this page but changed that: you will find all info inside the Reduced Vignetting ZIP file you download here. Make sure you read and follow the steps given in the text files! Even if you know how to use ReShade 😉
For new ReShade users there is also a YouTube link in the included text file or here on this page in the Video section.
By default only the normal setting is active. This also reduces the vignetting at night but not much.
If you want the night setting active, press the N-key. This is by choice: the nights have also reduced vignetting by default, but pressing N reduces it even more. When it becomes day, press the N key again to prevent too much brightness.
The N key is used in the Online mode of RDR2 for "Push to Talk". But since this mod should only be used in Story mode, that should be no problem. If used in Online mode, you risk a ban!
See the included text file if you want to change the N key to whatever key (or key combination) if you want to change that.
Also a text file is included on how to change the default key for the ReShade menu in-game. By default that is the Home key but that is also the same key for the Social Club thing. Just press it a few times and both the ReShade menu and the Social Club thing are disappearing. That can be changed.
My mod can be used with other ReShade settings but it can intervene with them. Especially when you use a brighten setting.
The provided screenshots are showing the effect. The night time screenshots are with the Night setting active. To see the full (sometimes subtle) effect, watch it in full screen.
Last but not least: I will try and answer all questions ... but not about ReShade not working and so on. There are for example reports that on certain AMD graphics cards it will not work. That is not the cause of my mod but of ReShade. For more info on how to use ReShade in the game, see the FAQ or Forum on https://reshade.me/
Thanks and credits to ReShade for allowing me to alter one of their shaders files!
Simple ReShade install video for new users:
-
This file is an educational resource for mod development!
NPC Taxi allows you to jump on any NPC's horse or wagon and enjoy the ride from a slightly different perspective. This file contains the finished project for our tutorial. Feel free to expand it in any way you like!
The tutorial can be found here: