
403 files
-

-
-
 See a downed citizen? Call Code Red Dead Insurance immediately. A network doctor will be dispatched
- 85 Downloads
- 1851 Views
- 1.17 MB File Size
Updated -
- 14,516 Downloads
- 140475 Views
- 61.86 MB File Size
- 17 Comments
Updated -
-

- 453 Downloads
- 5858 Views
- 37.68 MB File Size
Updated -

-
-
- 2,531 Downloads
- 15496 Views
- 207.45 kB File Size
- 1 Comments
Updated -
- 383 Downloads
- 9769 Views
- 11.78 MB File Size
Updated -
- 1,547 Downloads
- 10399 Views
- 34.94 MB File Size
- 1 Comments
Updated -
- 852 Downloads
- 145344 Views
- 2.65 MB File Size
Updated -
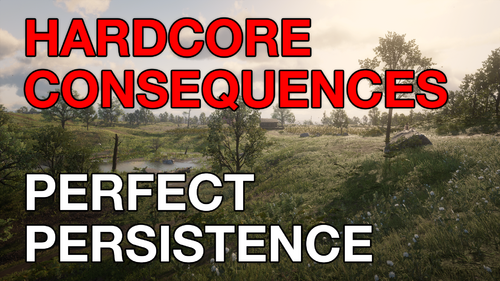 You lose all items, money, weapons, ammo, food, etc upon dying and also your cores are reset.
- 521 Downloads
- 11210 Views
- 185.32 kB File Size
Updated -
-
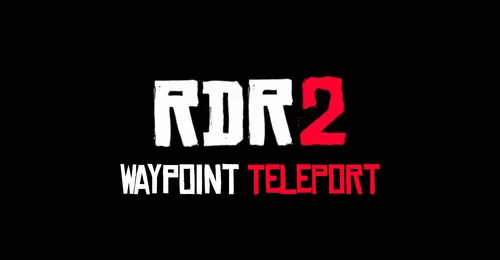
 Have you been in a gunfight in RDRFR, and frantically searched for the N button on your keyboard for
- 616 Downloads
- 14812 Views
- 37.11 MB File Size
Updated -

.thumb.png.ec226b327600b3c8a7233424b9cff7e2.png)
.thumb.PNG.9b1b9bdbbaae8edb695ac8be487eeac3.PNG)